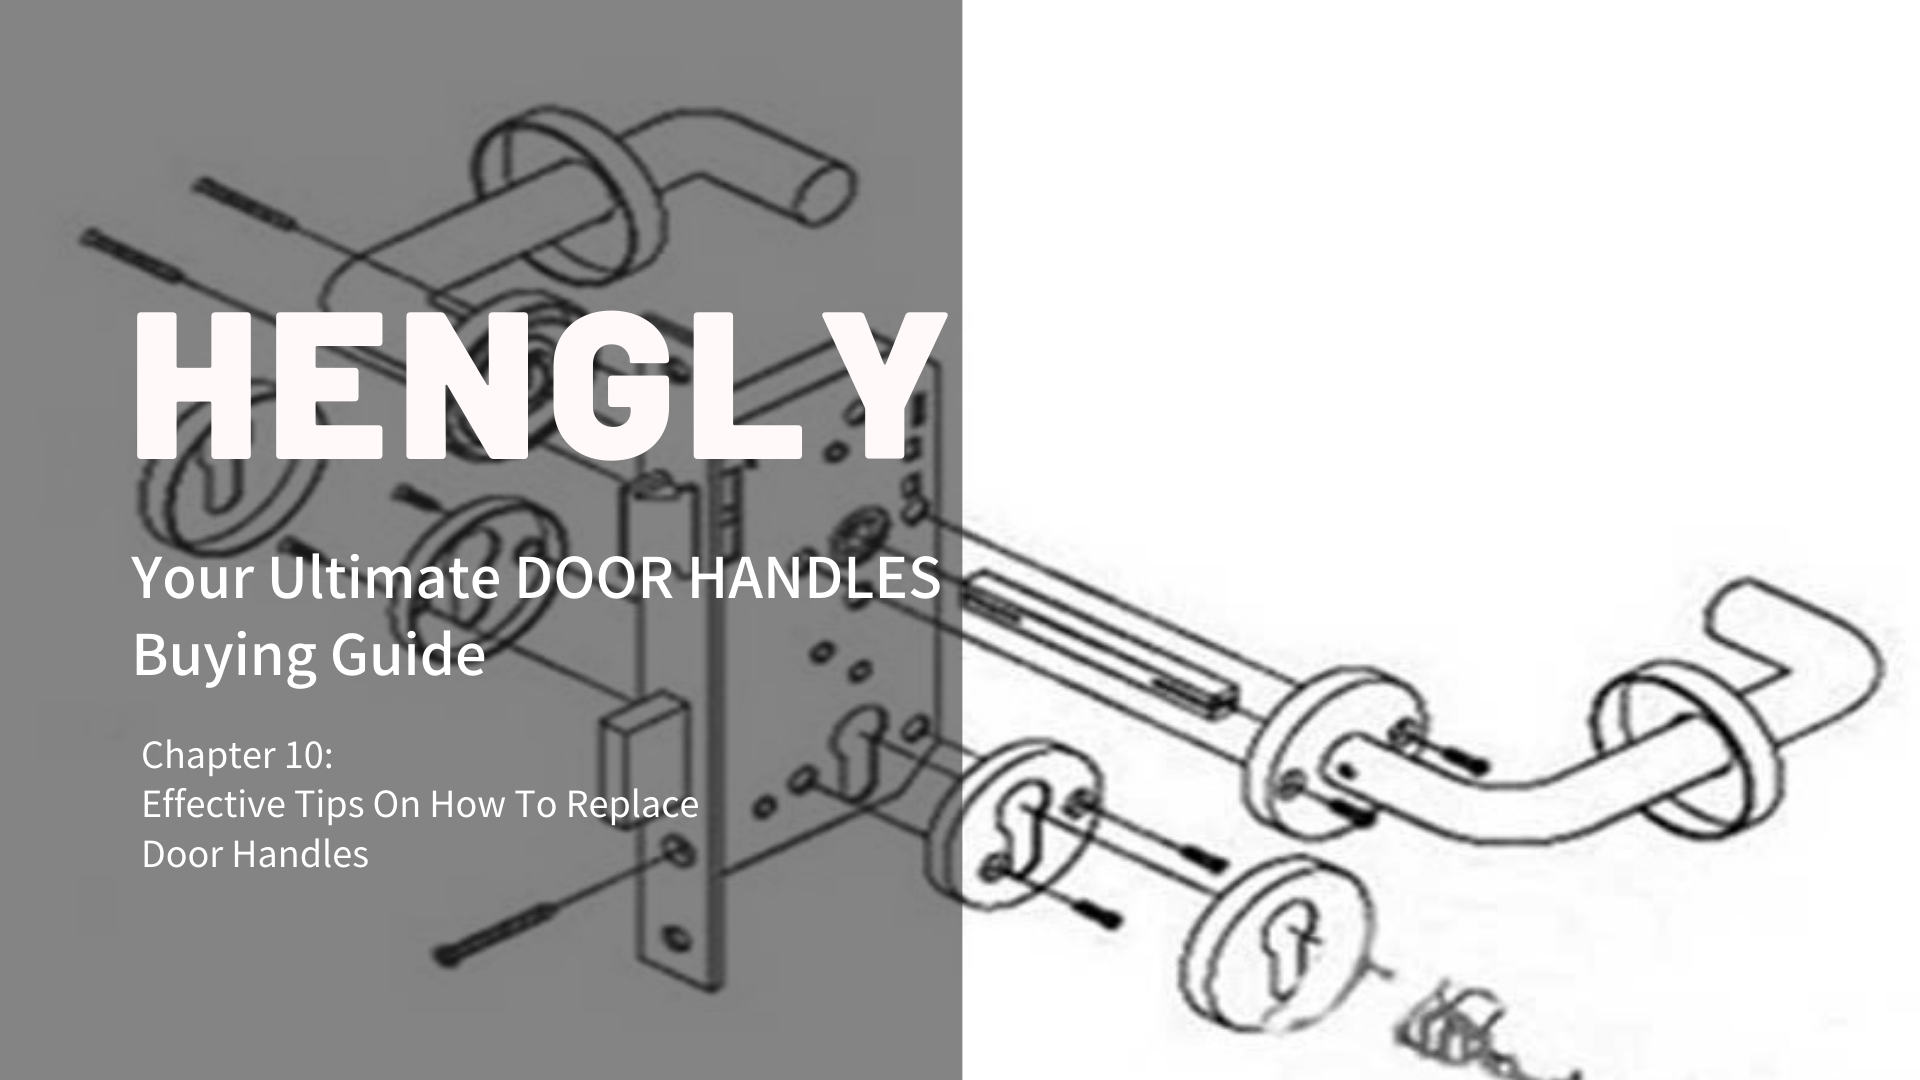
Chapter 10: Effective Tips On How To Replace Door Handles

Chapter 10: Effective Tips On How To Replace Door Handles
A loose door handle or hardware that requires more effort to open can be repaired.
But handles that require more effort to open are different.
Replacing the door handle is the right solution.
Yes, you heard it right.
Replacement is needed!
Similar to finding a new handle, you have to consider the style, finish, environment, and security.
Once you find out one that suits your taste, you can now replace your existing handle with an excellent piece of the door handle.
For a first-timer like you, the process is more difficult than you think.
In this chapter, you will learn some tips on how to replace door handles.
· Remove your Existing Handles
Before pricing off the cover plate, it’s imperative to depress a pin on other screws using a driver.
This will expose the fixing plate.
· Unscrew the Fixing Plate
Once you unscrew the accessory, remove the whole mechanism from both sides of the door.
· Unscrew the Plate and the Latch
The edge of the door has a latch and plate, so unscrew them.
After that, you can pop out the latch.
Doing the process without prior knowledge can damage the door.
That’s why it’s worthwhile to run a knife around the edges of the plate to remove the paint seal.
· Measure the Backset from the Edge of the Door to the Center of the Hole
Typically, this is around 60 mm or 70 mm.
You need the measurement to purchase a new door handle.
· Lock Fits Together in Different Ways
Since locks fit together in a range of ways, read the instructions from the kit.
The kit will allow you to understand the product better.
It will let you know how to use and install it.
Probably, the latch plate will fit into your old recess.
However, you need to use a chisel to change the depth and shape of the housing.
· Install the Set with a Privacy Adaptor
For you to install this set, replace the fixing plate with an adaptor.
The adaptor with a lever goes on the side of the door.
Screw posts and insert thru the holes in the latch.
· Attach the screws outside the posts
After putting the screws to the desired position, slide the outer fitting on the screws and tighten them one by one.
Since it’s a bit slotted, it is less tricky to do.
Make sure to be very patient and particular with the steps.
· Slip emergency release bar into the back of the snib
Check the back of the snib.
Make sure that the emergency release bar slips for it to function properly.
· Set the Snib into the Proper Lock Position
Fit the spindle into the knob.
Push thru the hole in the latch body.
Then, fit the other side.
Screw the rosettes to the privacy adopters.
Identify whether the mechanism works or not.
----
THE END
