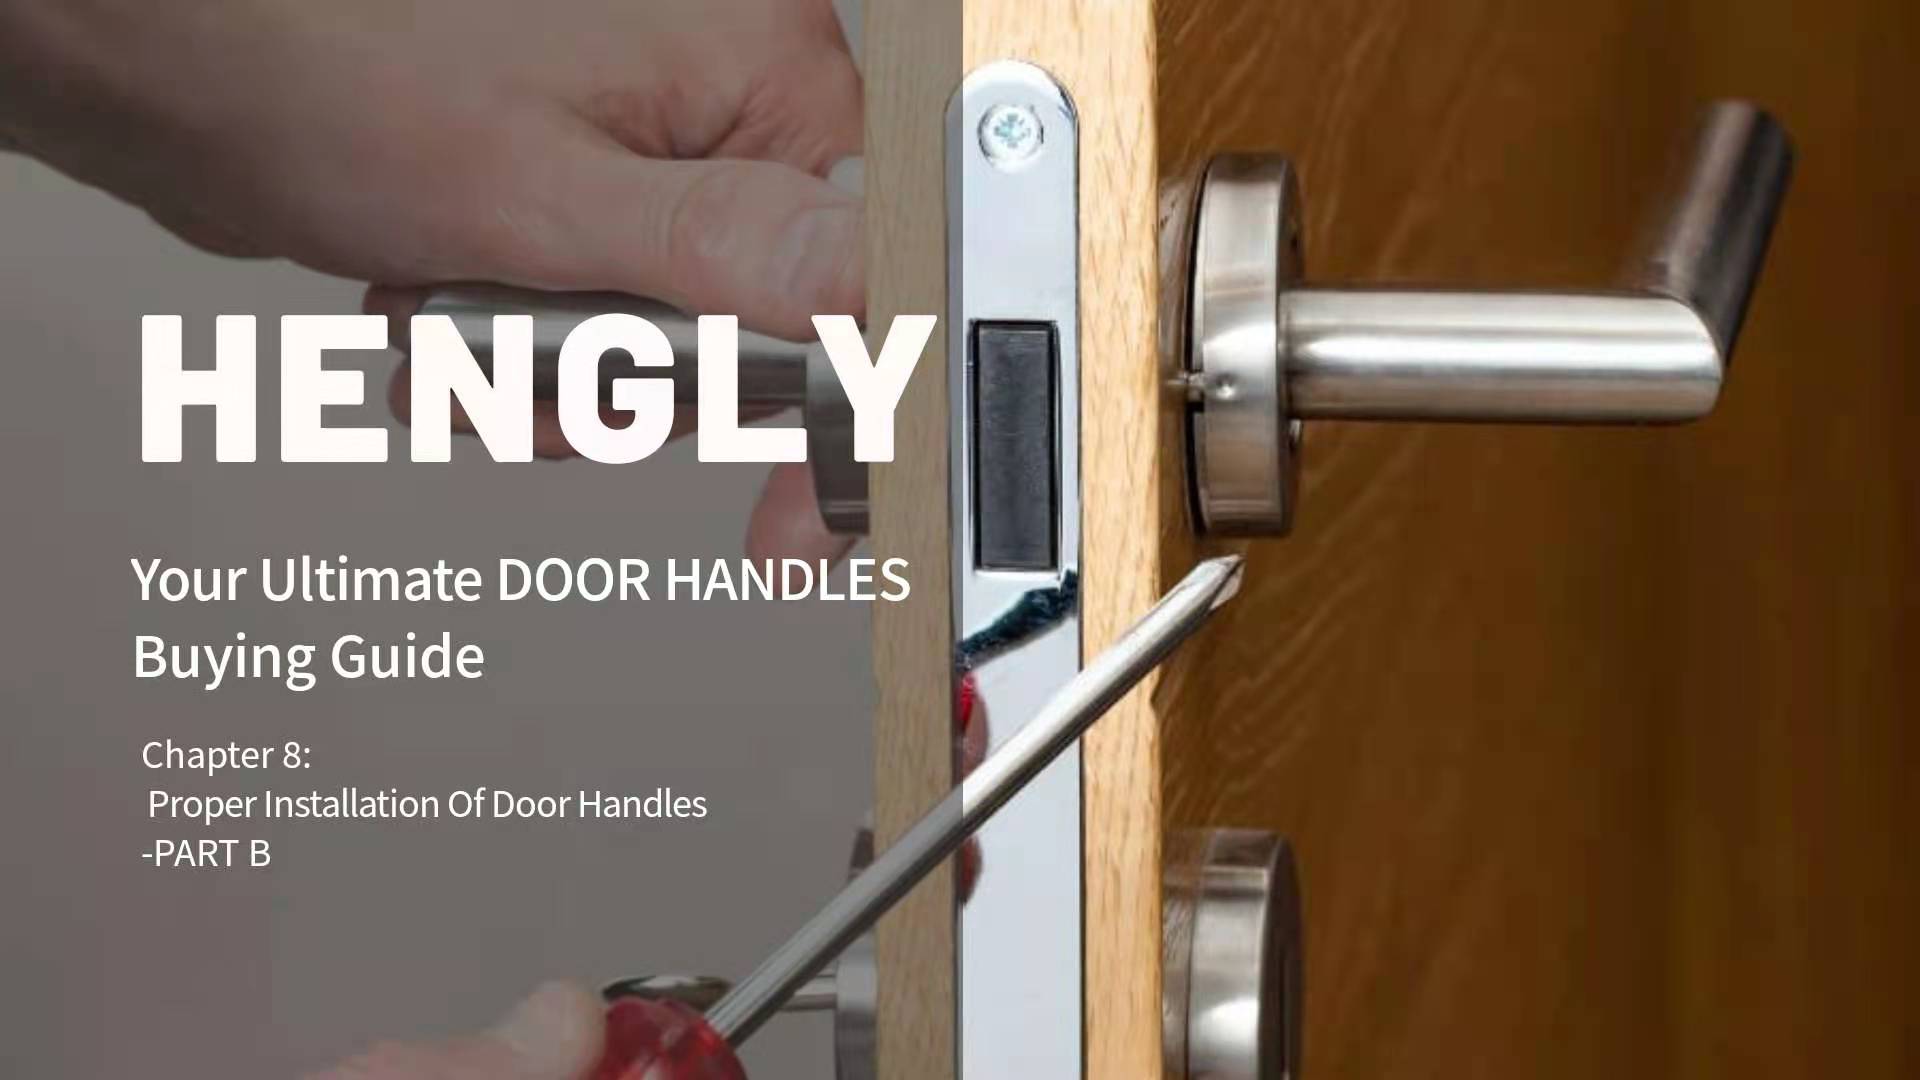
Chapter 8: Proper Installation Of Door Handles-PART B
![]()

Other Tips on Installing Door Handles
It’s said that installing door handles is simple.
Even you don’t master it or if you are not a professional installer, you can get one installed in your door.
However, it won’t be that stress-free.
The following tips will help eliminate the complexity of the installation process.
Read on and Learn more:
Carpenters install door handles with ease.
Over their years of experience in the industry, they’ve learned effective tricks.
Damaging a door or installing inefficient hardware is easy to do.
If you take the process slow and use time-tested installation techniques, the installation of door handles will become easier.
Backers
Many people don’t know that there’s a good way of installing door handles.
It is by using a backer in drilling a hole.
Perhaps, others have encountered chips or splintering after drilling a hole.
Backers are more than flat pieces of wood that you can place behind the door.
If you drill the door without a backer, the teeth of the hole-saw will catch on the plywood veneer.
When left unattended, it would lead to ripping or tearing.
For you to prevent the damage, all you have to do is to clamp a piece of plywood over the spot where hole-saw emerges.
From the time the hole-saw penetrates thru the door, it will just enter the plywood without splintering.
Striker Holes
It is known as the small part of the knob.
The striker protrudes from the side of your door.
Typically, after drilling the hole for the handle, striker hole is also drilled in the side of your door.
Take note:
It’s important that the hole intersect squarely.
If you do the process yourself, you might angle it slightly that makes the striker fail to work after installing the hardware.
Make sure that proper positioning gets done.
Whether the striker binds or fails to function properly, you can address the problem with the use of a drill guide.
This consists of two cylindrical braces that are attached to a flat base.
Remember to use a drill guide during the hardware installation.
Not only that it will save your time, but it will also help your door handle work properly.
Bolts and Screws
Handles, specifically knobs can be difficult to install.
Their screws are long that keep the hardware secured or tight.
While hinge screws are much shorter, they are the same thing.
All screws need proper tightening to guarantee straightness or proper positioning of the handle.
A common issue when installing the hardware happens when you tighten a screw all the way and attach another screw.
This can torque the hinge set and door handle in one direction.
It will make the installation more complicated than you think.
To make the process right, tighten screws that work with each other at a time.
Tighten a screw a few turns and repeat it to another screw that results in proper positioning and torque of the handle.
Another simple tip is to start screws using your fingers.
Turn each accessory as tight as possible before using a screwdriver or a drill.
Stripping
Another problem with door handle results when the hinge screws get stripped.
Most of these accessories measure a ¾ inch long.
They primarily penetrate into the side of the door that’s very soft.
Whether your door sticks or binds on the side of the jamb.
Or perhaps, the hinge set has stripped screws.
When installing hinges, use a driver that’s equipped with a clutch.
Besides, a drill is an excellent alternative.
Installation Tools
Aside from the knowledge of installing a door handle, you need to have tools.
These include the following:
· Drill
· Driver
· screwdriver utility knife
· tape measure
· hammer
· sawhorses
· wood chisel
· hole-saw kit
· door lock installation kit
· hearing protection
· safety glasses
· work gloves
---
TO BE CONTINUED
